
Create a Stunning Focal Point with Backsplashes
Elevate your kitchen or bathroom with a beautiful and functional backsplash. Our extensive collection features a wide range of styles, materials, and colors to complement any design aesthetic. From classic ceramic and porcelain to luxurious natural stone and sleek glass, our backsplashes add a touch of elegance and personality to your space. Whether you're looking to create a modern, minimalist look or a traditional, rustic feel, our backsplashes offer endless possibilities.
Visit one of our conveniently located showrooms in Tukwila and Spokane Valley, WA, to explore our collection and receive personalized assistance.
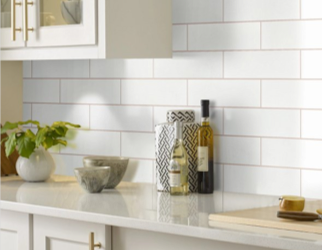
Ceramic
Ceramic backsplashes are a popular choice for their durability, affordability, and wide range of colors and patterns.
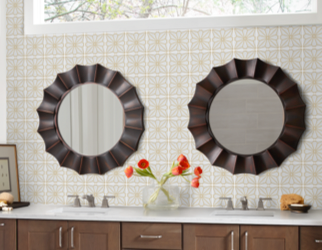
Porcelain
Porcelain backsplashes offer exceptional durability and stain resistance, making them a great option for high-traffic areas.
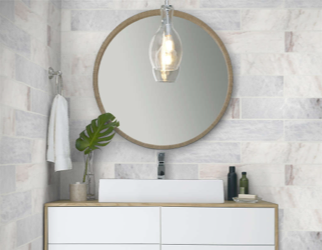
Stone
Add a touch of luxury with natural stone backsplashes, available in various materials like marble, granite, and travertine.
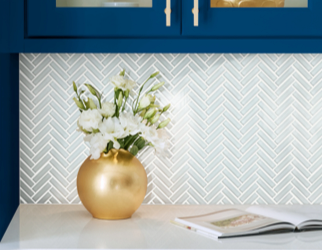
Glass
Create a sleek and modern look with glass backsplashes, which are available in a variety of colors, textures, and finishes.
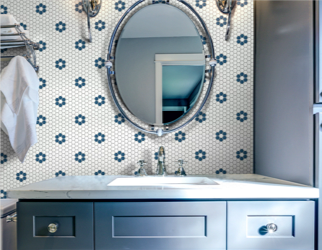
Mosaic
Add an artistic touch to your space with mosaic backsplashes, featuring small, intricate tiles arranged in various patterns.
Factors to Consider When Selecting a Backsplash
When choosing a backsplash, consider the following factors:
- Style: Select a backsplash that complements your overall kitchen or bathroom design.
- Material: Choose a material that is durable, easy to clean, and resistant to stains and moisture.
- Budget: Determine your budget and select a backsplash that fits within your price range.
- Maintenance: Consider the level of maintenance required for different materials.
- Installation: Factor in the cost and complexity of installation.
Ready to start your flooring project?
